
“Enthusiasm is the yeast that makes your hopes shine to the stars.”
― Henry Ford


In previous years, I’ve dabbled with the idea of making a sourdough starter but it seemed like a daunting task. One that I wasn’t fully ready to commit to.
I quite enjoy baking bread and have expanded my baking skills over the years to include a variety of yeast filled treats. However, with the pandemic this year, and a shortage of yeast a few months ago, I thought it was time to give it a go and make my own sourdough starter.
For me, it was more of a curiosity to see if I could commit to attending this living thing on a daily basis, as well as an experiment…WILL this actually work? Could I actually make a loaf of bread out of this alien culture fermenting on my counter?
So on a whim, I finally bit the bullet and went all in to start my sourdough starter. I needed something fast, straightforward, and with ingredients I had on hand…. no pineapple juice.
After reading various blogs about how to make your own starter, I felt like I was ready to give it a go.
I gathered a large mason jar, my flour and some water. I read many recipes on how to make a sourdough starter, and although baking is a specific science, it can also be an experiment which is why I had to modify the recipe and ratios to what I had on hand. Below is what I used, and the day by day process I followed to make my sourdough starter. After about 10 days, it was ready, and healthy, to make a loaf of bread.
Supplies
- A large mason jar
- A fork or chop stick
- A food scale
Ingredients
- A bag of all purpose flour
- Warm water
Side note: Throughout my journey I started to weigh my ingredients, but initially when I started, my scale had a dead battery so I had to measure using a measuring cup. I found when I did measure out my ingredients I had a much more consistent and predictable starter.
DAY 1- Make the Starter
In my mason jar, I mixed ½ cup of flour with ¼ cup warm water. I mixed it with a fork or until the flour and water made a thick fluid paste. It’s important to sure to incorporate all the flour. If the mixture was too thick, I just added a bit of water to make the paste more smooth. In my experience I had to do that many times in the beginning, especially since I measured by volume and didn’t use the scale. ( Also, later on I mixed my feedings with a chopstick and I thought the chopstick worked great to mix it directly into the mason jar without making a mess. )
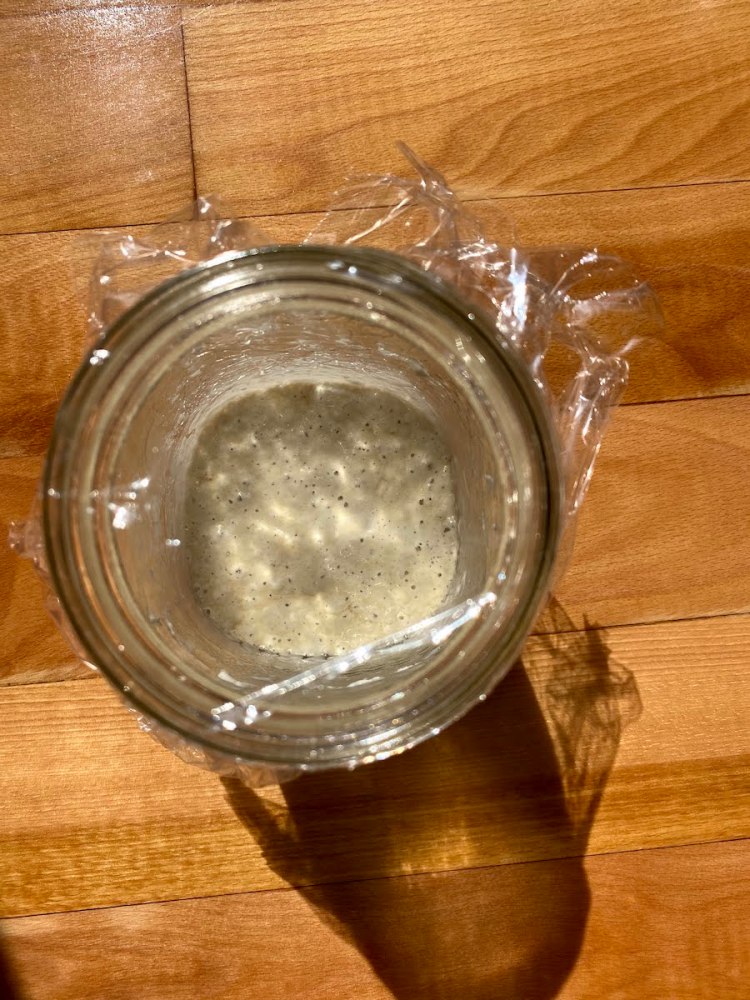
Once everything was fully mixed, I covered the top of the jar with plastic wrap and set the lid loosely on the top of the jar. I then left the started to sit on my counter for 24 hours.

Day 2
I didn’t do anything that day, I just left my starter on the counter and checked for little bubbles to indicate the fermentation process.

Day 3
A had some “hooch” laying on the top of my starter. This indicated that my starter needed to be fed. Hooch is the name of the brown liquid that appears on or in the starter. It has a bit of a stinky smell to it.
In order to get rid of the hooch, I had to feed my starter. In order to do this, I dumped about half my starter and the hooch into the garbage. Then I added ½ cup of flour and ¼ cup of water to my starter and mixed with a fork until smooth. (This process is called “feeding.”)
Then I let it sit on my counter for 24 hours.

Days 4-9
Most starters are ready to use by day 7, however, due to my colder home, I left mine on the counter for a few extra days repeating the instructions in Step 3.
What I realized is:
#1 although making sourdough starter is labor intensive, feeding the starter at the same time every day only takes about five minutes (very doable).
#2- I really enjoyed watching my starter grow. As it fermented over the course of the week, more and more bubbles appeared which meant that I was creating a healthy, happy starter…. which made me very excited.
Day 10
Yay! My starter had pretty much doubled in size and I had lots of bubbles. It also looked soft and fluffy and no longer stunk or had hooch. This is how I knew my starter was active and I could started using it to make bread.
I transferred my starter into a clean jar and left it on the counter to make bread.

As you can see from the picture, the band indicates where the starter started, and you can clearly see how much its grown. Later on, I put my starter in the fridge to store it and I’ll talk about that in a later post. I’m on a bread kick right now, so I hope you enjoy reading about my baking process and I challenge you to view the simple things in your life with a pop of colour.
Cheers,
EOP
Once last thing…
There is a tradition that you are supposed to name your sourdough starter. I didn’t really pick out a name for mine. I’ve had it for a few weeks now and I still am not settled on a name.
If you have a suggestion for a sourdough starter name, leave me a comment 🙂

One thought on “Adventures in Sourdough- The Starter”